Showing posts with label painting. Show all posts

Wednesday, April 2, 2014

DIY Moroccan Backsplash

I am in love with Moroccan tile and I know I'm not alone! Unfortunately, it's some of the most expensive tile out there. So with a small budget and big dreams I came up with this about a year ago and I'm just as in love with it now as I was then. :) It's pretty simple. To make your own DIY Moroccan backsplash you need a stencil, at least 2 Sharpie paint pens (lots of colors available), and maybe some wine to keep you motivated.


First, paint your wall whatever color you want the background to be. Ours is Sherwin Williams White Duck (gloss). The whole kitchen is painted in that color. I used silver Sharpie paint pens and a craft stencil from Cutting Edge Stencils on Etsy.


Then get to tracing and tracing and tracing! It took about 4 hours with a couple breaks just to rest my back and hand. It's kind of awkward getting in there. :) Don't worry about little mistakes, no one will ever notice them.


Corners are the hardest part, but you can do it! When you get to an outlet, remove the cover and trace in as far as possible so that it looks fluid.


The last part is optional but I would highly recommend it. We painted this clear finish over it and it makes cleaning so easy, otherwise you can risk wiping or smearing the marker. In fact I used my Shaklee Basic H organic cleaner to quickly remove some spaghetti sauce off of it before I took the following pictures. haha. Of course the finish also makes it very shiny, which you will see in the next pictures!


Ah I love it so much! We've had so many compliments on it and most don't realize I just drew it on till I tell them. No, it won't look like tile but it still looks very nice. I'd love to see it in a fun color so please let me know if you try it!!! (Sidenotes: Crockpot on the counter brought to my kitchen by hubby's chili. lol And if you like the painting above, keep on the lookout for when I finally get my Etsy shop open- yes, I painted it to blend the colors I wanted in the room.) :) Happy tracing!


Wednesday, July 10, 2013

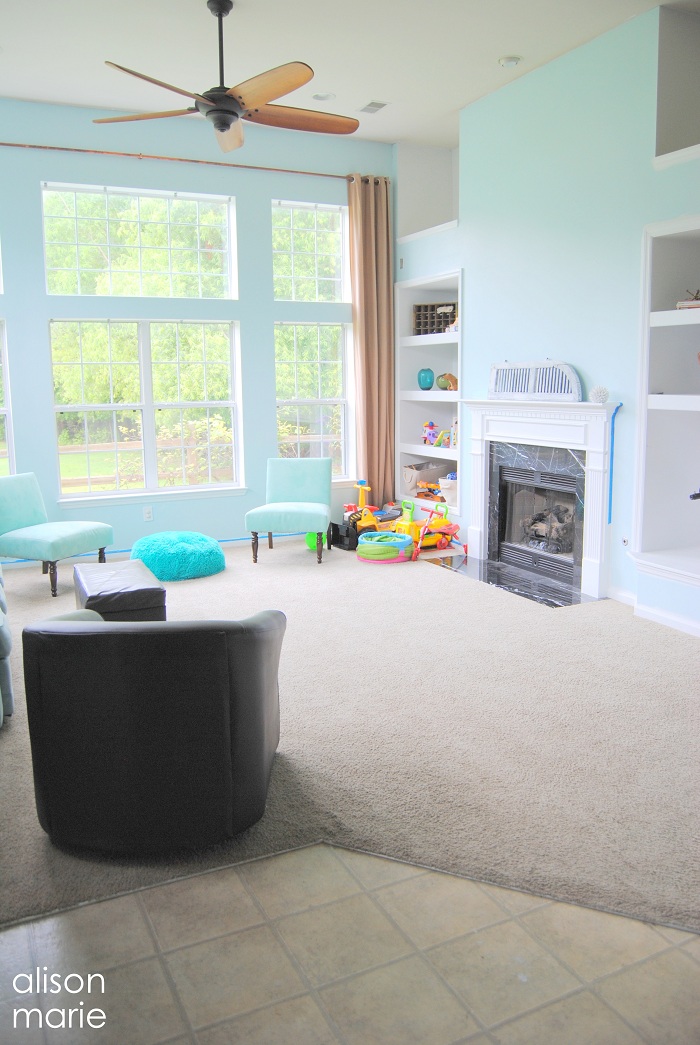
Livingroom- Progress! {Home Tour}

A little over a year ago we bought our beautiful home... that was painted in dark colors from ceiling to floor. We decided we were worthy of the challenge. We were kind of wrong. BUT! We are trying. Painting sucks y'all! How about a little before and middle picture to make me feel better...


Well, it's still the little furniture from our little apartment so I know their sectional makes it seem bigger before but it really is so much bigger feeling now. And it should be- 12 foot ceilings! A blessing and a curse. So what do we need to get moving on this year...


You heard me say it! We need to do all of that. So now I'm accountable for it. :)
We have 2 sectionals in mind- 1 is this Ikea sectional, the other was saved as a bookmark on my old work pc and now I don't remember it. But I loved it. Gah! Should have pinned it.
 
Paint: Walls- Sherwin Williams _____
Trim: Sherwin Williams High Gloss White (as in straight out of the can!)


First project up is to clean out J's toys. They're just getting too messy over there and he only plays with half of them. I'm sure you moms know what I mean! I love having that corner for him though. He's a team player kind of kiddo. He won't play unless we are there so the central location makes it easy for us to read, cook, clean, etc. while he is entertained.

Wednesday, June 12, 2013

Arrow Painted Ceiling {DIY}


Have you been through the WAHM Office Tour yet? If you have, I'm guessing you noticed that arrow painted ceiling! I'm so excited to share this with y'all today. :) When we bought this house EVERY room was painted in crazy colors. We're still not done painting over each room yet, but the office was a big start! Here's the before...


And here's my after...


Aw so much lighter! :)

The previous owners painted the room a rusty orange (which I realize the rug in the tv-man-cave part of the room now matches. ha!) and the ceiling a metallic blue.The orange walls had to go! But I wasn't quite up to painting the whole ceiling- and it was pretty cool being metallic.

What better way to accentuate metallic paint, than with gloss and glitter!?!?

{pardon the bad pictures, most was done at night}

Begin by taping off 3 sections...


Then you are going to need to find a good piece of cardboard, mark off how many inches wide you want each section to be, add an inch in there for the tape size, and then get to marking off the tape! (our ceiling sections get smaller as you walk into the room, it creates a really neat effect when you look at it sitting at my desk)


Now get to priming! Try to paint kind of within the lines. See the section on the far right? Kent painted right over all the tape- that makes finding the sections for alternating colors very hard to do!


Now decide on a pattern and get to glossing...


Next up I filled in the turquoise...


The last part is to add the glitter! :) Mix glitter into a cup of mod podge. You won't be able to see the glitter once it's mixed, but it will work once it's dry.


I used a sponge brush to paint on the mod podge. See how it glitters once dry!


All that's left to do is pull the tape off! Hint: Try pulling in the opposite direction of how you taped it, so it comes off as one big line.


See... metallic, glitter, and gloss! :)


Ahh! So much better! I love my office! :) So what do you think?... Would you dare to paint a ceiling with metallic, glitter, and gloss???


Thanks for stopping by!


Linking up to these awesome party people.